Monday, January 23, 2006

Back In The Water


Scamper went back in the water Saturday morning and she looks wonderful. Hylebos Marina really does great work and are very good folks to work with. The bottom is smooth and even and the topsides look like a new boat.

I motored home in the rain and was tied up by noon. I took care of a couple of projects Saturday afternoon and Sunday which I'll blog about shortly.

Like a New Boat


The lighting is way different but compare this picture to the "before" post below. New bottom paint and a polished hull.

Monday, January 16, 2006

Haulout


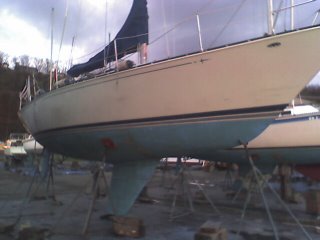
Boat's out of the water now. I arrived at the dock early and had a bit of lunch. While I was eating, a newish Catalina 36 came in towed by an also newish Catalina 40. Two steering wheels on that one, whoohoo.

The 36 had hit a log in Commencement Bay and bent the prop or shaft and could not make way on it's own.

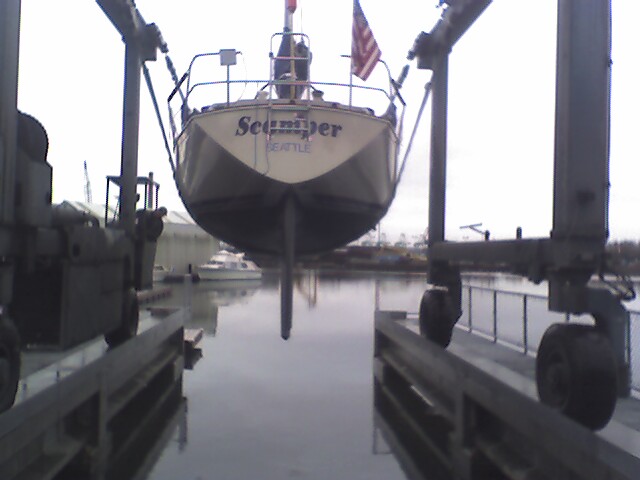
The haul went well. The travelift operator said Scamper weighs 12,500 pounds. That's full of fuel and about 3/4 full of water with all most cruising gear aboard. C&C's specs put the displacement at "approximately" 10,090 pounds.

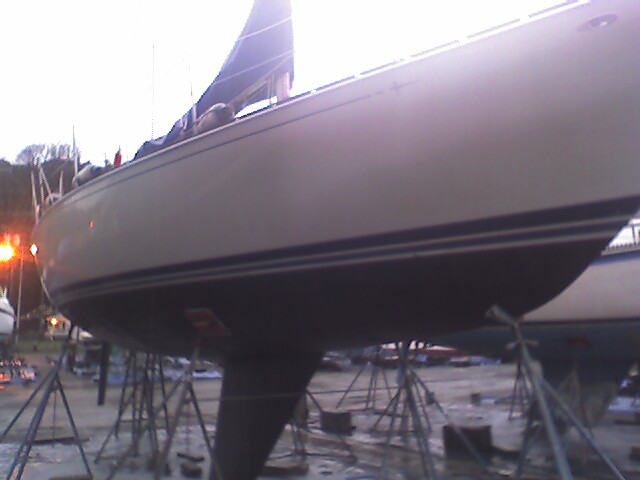
I drilled a 1/4 hole in the bottom of the rudder to make sure it wasn't full of water. No problem there. I left it overnight and then filled it with epoxy. I was also able to rebuild an old Groco seacock that has been broken since I bought the boat. I called Groco about it some time ago and they were extremely helpful with tips about what I would find when I got around to the job.

I was also able to clean the prop and shaft and replace the zincs.

Hopefully the paint will go on this week and Scamper will get back in the water by next weekend.


New shades from SailBoatOwners.com. Four of these took about 20 minutes to install and cost less than $200. They look very nice and are quite lightweight. I wouldn't call them durable, the kids can't swing from them, but I see no reason they would not last a very long time.

They are fastened at the top with small stainless screws (provided) about every four inches and at the bottom with small velcro patches. The velcro patches that came with the shades fastened with one screw in the center of the patch. I instead used small, round, stick-on velcro patches just to have a few less screw holes.

SailBoatOwners.com provides great service too. It took about four weeks from the time I ordered the shades until they arrived.

Highly recommended.

Tuesday, January 10, 2006

New Toys

Just got some pleated shades from SailBoatOwners.com's "chandelry" and also made a trip to West Marine for some plumbing hardware to set up a new engine-flush mechanism.

The current engine cooling setup uses raw-water and has a hose connection for flushing. I'm looking for something that is even easier to use. I'm looking at using a diverter valve (Y valve) to briefly draw engine-cooling water from the fresh water tanks after a day's sail.

More to come with pictures.

Boat's also coming out of the water next Saturday for regular service - bottom paint, zincs, seacock rebuild, etc. I'll document that as well.

Tuesday, January 03, 2006

This is a "rim lock" deadbolt I installed on Scamper's companionway hatch. It required the drop-boad to be built-up almost 1/2 inch to add enough room for the key mechanism. I really like it - there's no need to fool with padlocks and it's easy to lock from the inside.

ORC requirements specify a mechanism to lock the companionway from both the inside and outside. In really heavy weather it would be a good thing to keep the companionway locked closed so I fastened a lanyard to a spare key and will leave the key in the outside lock and clip the lanyard to the eye to the right of the lock.

ORC also specifies the ability to fasten the companionway to the boat so that it cannot be carried away as it is being removed. I made up a lanyard to clip between the the eye next to the lock and another eye just inside the companionway.